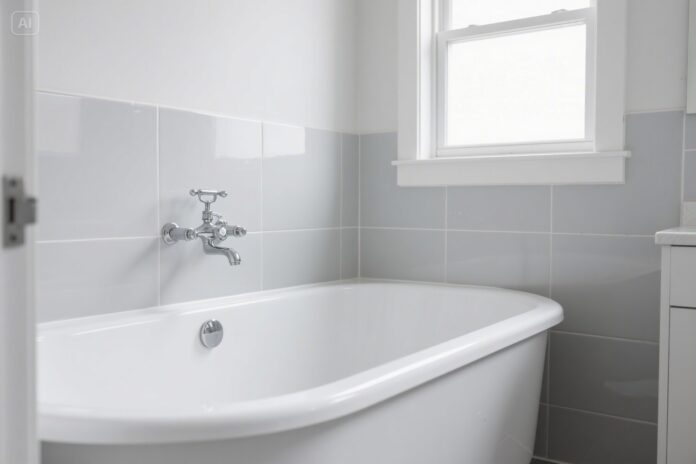
To paint trim with clean, professional-looking lines, clean and degrease the trim, fill holes and caulk gaps, scuff-sand with 180 to 220 grit, prime anything bare, stained, glossy or oil-painted, then brush on two thin coats of satin or semi-gloss trim enamel with a 2 to 2-1/2 inch angled sash brush. Work in long strokes from wet edge to wet edge and let each coat dry fully before the next.
Tape is optional if you can cut in steadily, but it helps beginners. You can paint trim before or after the walls; what really decides the result is patience with prep and dry times. The rest of this guide covers the tools, how to choose paint and sheen, lead and old-paint checks, a step-by-step process, painting order for windows and doors, cure times, costs and the mistakes that cause brush marks and peeling.
How to Paint Trim: Quick Overview
| Stage | What to do | Tip |
|---|---|---|
| Prep | Clean, fill, caulk, sand | Degrease with a mild cleaner, then rinse |
| Test old paint | Rubbing alcohol test for oil vs latex | Oil-based trim needs a bonding primer |
| Prime | Spot prime repairs, fully prime bare or stained wood | Use a stain-blocking primer on knots |
| Paint | Two thin coats of trim enamel | Keep a wet edge and do not overbrush |
| Finish | Light sanding between coats, remove tape | Score the tape edge if paint has dried |
Tools and Materials
- 2 to 2-1/2 inch angled sash brush (synthetic bristles for water-based paint)
- Small foam or microfiber mini roller for flat door panels or wide baseboards (optional)
- Painter’s tape, drop cloths and a paint shield or taping knife for baseboards
- Wood filler or lightweight spackle, a putty knife and paintable acrylic latex caulk
- Sanding sponges or sandpaper in 120, 180 and 220 grit
- Bonding or stain-blocking primer
- Trim enamel in satin or semi-gloss
- Mild degreaser, a bucket, lint-free rags and a vacuum with a brush attachment
- Rubbing alcohol and cotton balls for the paint test
- A small paint pail or cup so you are not dipping straight from the can
The brush is the one place not to economize. A quality angled sash brush holds more paint, releases it evenly and keeps a sharp tip, which is what lets you cut a straight line without tape. For large amounts of flat trim stock or doors you are stripping back, a random orbit sander speeds up prep; our guide to the best orbital sanders explains which models suit fine finishing work.
Choosing the Right Trim Paint and Sheen
| Paint type | Pros | Cons | Best for |
|---|---|---|---|
| Waterborne alkyd or urethane-modified enamel | Levels well, hard finish, low odor, soap-and-water cleanup | Longer recoat times than basic latex | Most interior trim and doors |
| Acrylic latex (100% acrylic) | Fast drying, flexible, affordable | Shows brush marks more easily | Budget jobs, rentals |
| Oil-based alkyd | Excellent leveling and hardness | Strong odor, mineral spirits cleanup, yellows over time, restricted in some areas | Traditional finishes, high-wear spots |
For most homes, a waterborne alkyd or urethane-modified trim enamel is the best balance: it flows out like oil paint and dries hard enough to resist scuffs, but cleans up with water and stays whiter over time. Basic acrylic latex is fine for rentals and quick refreshes, but it stays slightly soft and can feel tacky when doors and windows close against it.
Sheen matters as much as the paint type. Semi-gloss is the classic choice because it is durable, wipes clean and contrasts nicely against flatter wall paint. Satin hides minor imperfections better and looks more modern. High gloss is dramatic but shows every dent and brush mark, so reserve it for trim that is already perfectly smooth. Whatever you pick, use the same sheen on all trim in a room so baseboards, casings and doors read as one set.
Before You Start: Old Paint and Lead Safety
If your home was built before 1978, the trim may contain lead-based paint, and sanding or scraping it can release hazardous dust. Test it with an EPA-recognized lead test kit or hire a certified inspector before sanding. If lead is present, follow lead-safe work practices from the EPA’s lead guidance or hire a certified renovator, especially if children or pregnant people live in the home.
To check whether existing paint is oil or latex, rub a small spot with a cotton ball soaked in rubbing alcohol. If the paint softens and transfers to the cotton, it is latex. If nothing comes off, it is likely oil, and you should scuff-sand and use a bonding primer before applying water-based paint. Skipping this test is the most common reason fresh trim paint peels off in sheets a few weeks later.
Step-by-Step: How to Paint Trim
1. Protect the room

Lay drop cloths along baseboards and under windows and doors. Remove doorstops, outlet covers near trim and any hardware you do not want painted, and bag screws with the part they came from. If you are using tape, press it firmly along the wall edge with a putty knife so paint cannot seep under it. On baseboards over carpet, push the carpet down with a taping knife or tuck wide tape under the board edge.
2. Clean the trim
Trim collects grease from hands, dust and scuffs, especially door casings and window stools. Wipe it with a mild degreaser, rinse with clean water and let it dry. Vacuum dust from baseboard tops and the floor edge so it does not end up in the wet paint.
3. Fill, caulk and sand
Fill nail holes and dents with wood filler or spackle, slightly overfilled, and sand flush when dry. Run a thin bead of paintable caulk along gaps where the trim meets the wall and at joints, then smooth it with a damp finger. Do not caulk the joint between baseboard and floor if you have floating floors that need expansion space. Scuff all surfaces with 180 to 220 grit to dull the old gloss, then wipe away dust with a damp cloth or tack cloth.
Let caulk cure for the time on the tube before painting over it. Painting too soon can cause cracking along the bead, especially with fast-drying enamels.
4. Prime
Prime bare wood, filler patches, stained or glossy surfaces and anything oil-based. Use a stain-blocking primer over knots and water stains so they do not bleed through the topcoat. Let it dry fully, then lightly sand any raised grain with 220 grit. Tinting the primer toward your final color helps when you are covering a dark or very different shade.
5. Cut in the first coat

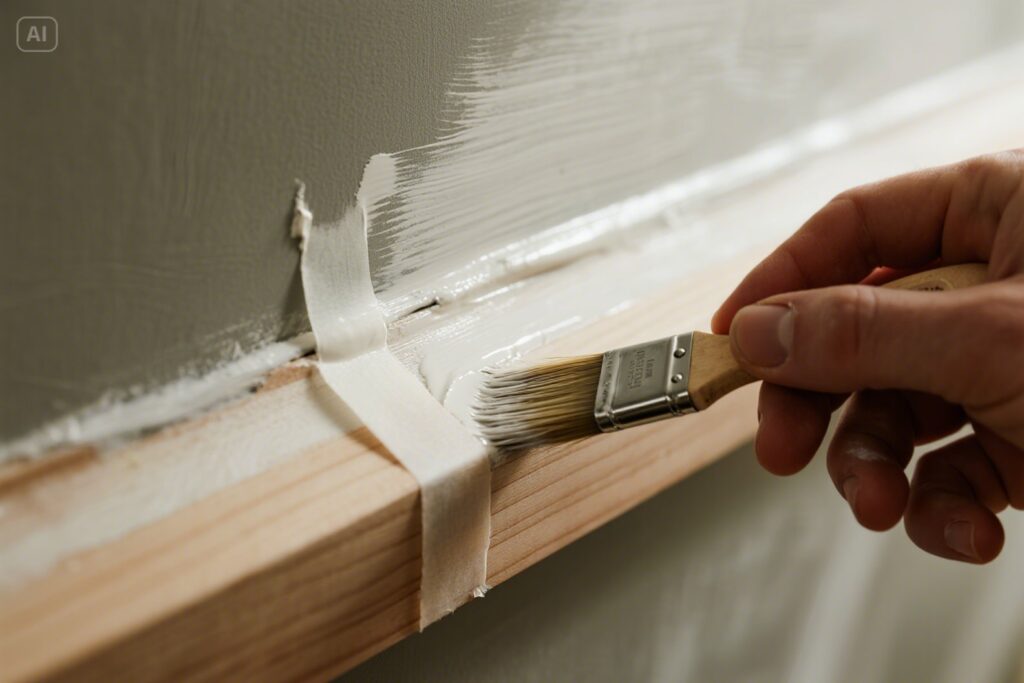
Load the brush about a third of the way up the bristles and tap off the excess against the side of the pail. Start an inch or two from the edge, then glide the brush toward the line, letting the angled tip form a crisp edge. Paint in the direction of the grain or the long dimension of the trim. On baseboards, work from one end of the wall to the other, holding a paint shield against the floor if you are not using tape.
Pro tip: brace your painting hand with your little finger against the wall or trim. It steadies the stroke and makes freehand lines much straighter.
6. Lay off and keep a wet edge
Apply enough paint for it to flow, then finish each section with a single light, full-length stroke to smooth it. Overworking paint that has started to set causes drag marks. Keep sections short, about the length of one board, so you are always brushing back into wet paint. In warm, dry rooms a paint extender or conditioner made for your paint type can add working time.
7. Work in the right order
Paint from the top down so drips land on unpainted areas. In a room, do crown molding first, then window and door casings, then baseboards last. The table below covers windows and doors, which have their own order.
| Surface | Painting order | Why |
|---|---|---|
| Double-hung window | Muntins and sash, then casing, then stool and apron | Avoids smudging finished surfaces as you reach in |
| Panel door | Panels, then rails (horizontals), then stiles (verticals), then edges | Overlaps get covered by the next section’s strokes |
| Flat slab door | Mini roller to apply, brush to lay off top to bottom | Fast coverage with a smooth finish |
| Door frame | Head casing, then side casings, then jambs and stops | Top-down to catch drips |
Leave windows slightly open and move them a few times while the paint dries so the sashes do not stick shut. Prop doors on small blocks or keep them ajar until the edges are dry.
8. Sand lightly and apply the second coat

After the first coat has dried for the time on the label, sand very lightly with 220 grit or a fine sanding sponge, wipe off the dust and apply the second coat the same way. Two thin coats look far better and last longer than one thick one, which tends to sag in grooves and stay soft.
9. Remove tape and clean up
Pull tape slowly at a low angle once the paint is dry to the touch. If paint has bridged over the tape and hardened, score the edge with a utility knife first so it does not tear. Clean brushes promptly: warm soapy water for water-based paint, mineral spirits for oil, then hang or store them in their cover so the tip keeps its shape.
Dry and Cure Times
Dry to the touch and ready to recoat are not the same as fully cured. Many water-based trim enamels can be recoated within a few hours to overnight, while oil-based products take longer. Full hardness can take days to weeks, so close doors and windows gently, avoid pushing furniture against fresh baseboards and do not put tape on newly painted trim. Cool or humid rooms slow drying, so allow extra time and keep air moving. Always follow the specific product label.
Painting Trim Before or After Walls?
Many professionals paint trim first, because taping off finished trim is easier than taping a wall, then paint the walls. Others paint walls first and cut in the trim carefully, which works well if you have a steady hand and want the trim line to be the final, crisp edge. For new construction, painting trim before installation and touching up nail holes afterward saves the most time. If you are also installing new baseboards, see our baseboard installation guide for tips on prepping them before they go up.
Common Mistakes to Avoid
- Skipping degreasing, which causes peeling and poor adhesion.
- Painting latex directly over glossy oil paint without a bonding primer.
- Using cheap brushes that shed bristles and leave heavy marks.
- Applying thick coats that sag and drip in grooves.
- Overbrushing paint that has already begun to set.
- Leaving tape on for days so it pulls fresh paint off.
- Painting over uncured caulk, which leads to cracked lines.
- Sanding old paint without testing for lead in older homes.
Cost of Painting Trim
DIY costs are mostly supplies: a quality brush, a quart or gallon of trim enamel, primer, caulk, filler, tape and sandpaper. Expect roughly $50 to $150 for a typical room or two, depending on the paint brand and how much trim you have. A good brush is reusable for years if cleaned properly, so the second project costs less.
Professional painters often price trim by the linear foot, by the room or as part of a whole-room quote, and detailed profiles, crown molding and window sashes cost more than simple baseboards. Get at least two written quotes that list prep work, number of coats and paint brand so you are comparing the same job.
Special Trim Types
Detailed profiles such as crown molding need a smaller brush to reach into curves and extra attention to drips in grooves. Flat Craftsman casings are easier because they have broad, simple surfaces; our Craftsman-style window trim guide covers the colors that suit that style. Stained trim can be painted, but it must be cleaned, scuff-sanded and primed with a stain-blocking bonding primer, or tannins from the wood can bleed through as yellow patches. MDF trim paints beautifully, but its cut edges are absorbent, so give them an extra coat of primer.
Bottom Line on Painting Trim
Smooth, crisp trim comes from preparation more than from technique: clean, test the old paint, fill and caulk, sand and prime where needed. Then use a good angled brush and a self-leveling enamel, apply two thin coats in the right order and give the paint time to cure. Do that and even a first-time painter can get a finish that looks professionally done.
Frequently Asked Questions
What is the best paint finish for trim?
Semi-gloss is the most common because it is durable and easy to clean. Satin is a good alternative if you want a softer, more modern look that hides small flaws.
Do I need to prime trim before painting?
Prime bare wood, repairs, stained wood and glossy or oil-based paint. Clean, sound latex-painted trim in a similar color often needs only a scuff-sand before the new coats.
How do I get smooth trim paint without brush marks?
Use a quality angled brush and a self-leveling trim enamel, apply thin coats and keep a wet edge. Finish each section with one light, long stroke and avoid going back over paint that has started to set.
Should I paint trim or walls first?
Either works. Many pros paint trim first and tape it off before painting the walls, since it is easier to tape trim than to protect the wall.
How many coats of paint does trim need?
Usually two thin coats over primer or a sound existing finish. A big color change, such as dark stain to white, may need a third coat.
Can I paint trim without tape?
Yes. With a quality angled sash brush, a moderate paint load and a steady hand braced against the wall, you can cut a clean line freehand. Beginners may still want tape on baseboards next to flooring.